3.5 KiB
+++ title = "Installing openQA on Kubernetes with Helm Charts" date = 2025-06-04
[taxonomies] categories = ["Linux"]
[extra] author = "Emil Miler" +++
Recently, I experimented with Kubernetes by installing openQA using Helm Charts. This article is a simple guide on how to do the same locally on your computer, with minimal effort.
You need a working cluster. There are several single-node management tools that let you run a Kubernetes cluster locally on your machine, such as k3d, kind, or minikube. They provide a cluster entirely isolated within a container.
I will be using minikube.
Installation of Tools
Install minikube -- or any other management tool -- along with helm. For example, on Void Linux:
xbps-install -S minikube kubernetes-helm
You also have to have a running container engine, such as Podman or Docker. Configuring a container engine is outside the scope of this article.
Preparing the Cluster
Since I am using minikube, I can simply start it like so:
minikube start
This might take a while during the initial setup. If you want, you can also run a web-based dashboard for better visualization and debugging.
minikube dashboard
The dashboard will open in your default browser.
Downloading openQA Charts
The official charts are available in the openQA source code repository, which can be cloned with the following command:
git clone https://github.com/os-autoinst/openQA.git
If you have GitHub setup properly with SSH, you might use this instead:
git clone git@github.com:os-autoinst/openQA.git
The charts themselves are stored in container/helm. You can change your working directory to that location:
cd openQA/container/helm
Chart Structure
The charts folder contains several different charts:
openqa-- Parent chart.webui-- Web interface and API for openQA.worker-- openQA worker that performs the actual test execution.
We will be working with the parent chart openqa. Since it references the other charts, they will be handled automatically by the parent.
Installing openQA
By default, the openQA WebUI template only exposes ports to the local network inside minikube, which makes the WebUI inaccessible from the host system. We need to add type: NodePort to the port specification under spec: in charts/webui/templates/svc.yml:
sed -i '/^[[:space:]]*spec:/a\ type: NodePort' charts/webui/templates/svc.yml
We then have to update dependencies and install openQA:
$ helm dependency update charts/openqa/
$ helm install openqa charts/openqa/
We can also list installed releases to confirm that openQA was deployed:
$ helm list
NAME  	NAMESPACE	REVISION	UPDATED                                 	STATUS  	CHART       	APP VERSION
openqa	default  	1       	2025-06-04 12:39:08.150021755 +0200 CEST	deployed	openqa-0.1.0
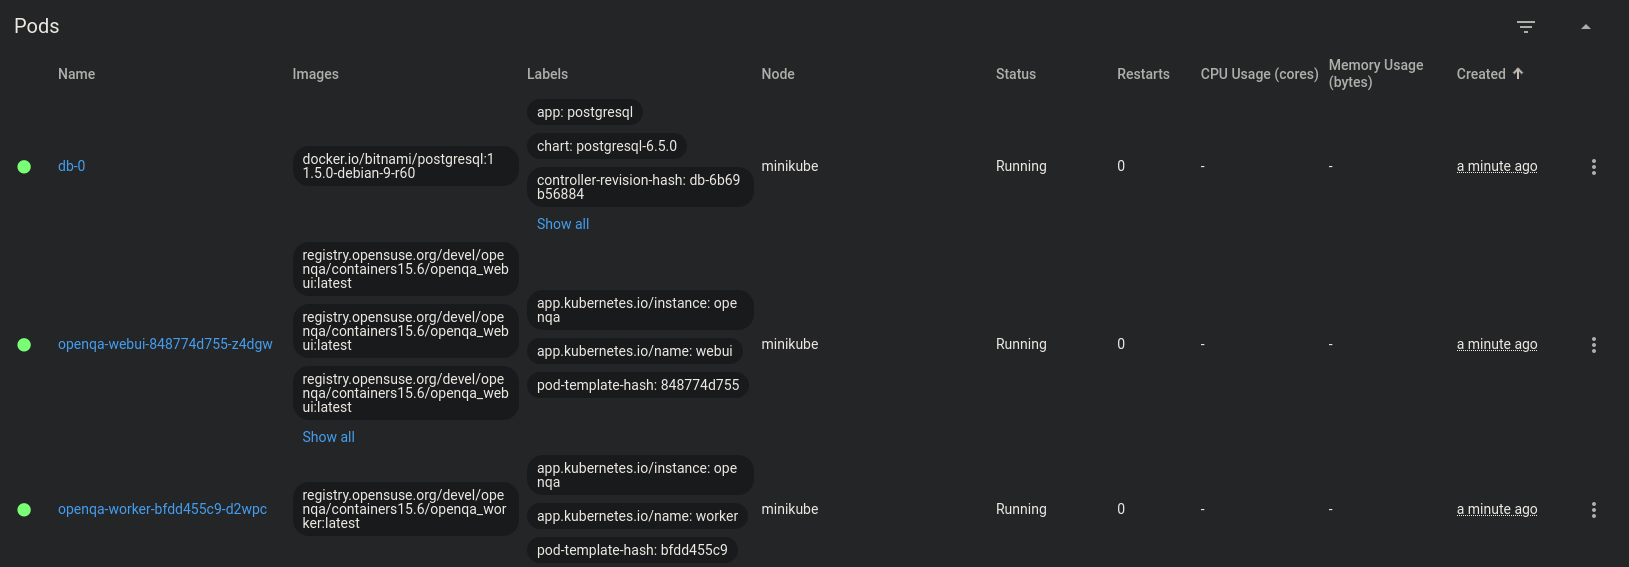
The minikube dashboard also lists all running pods:
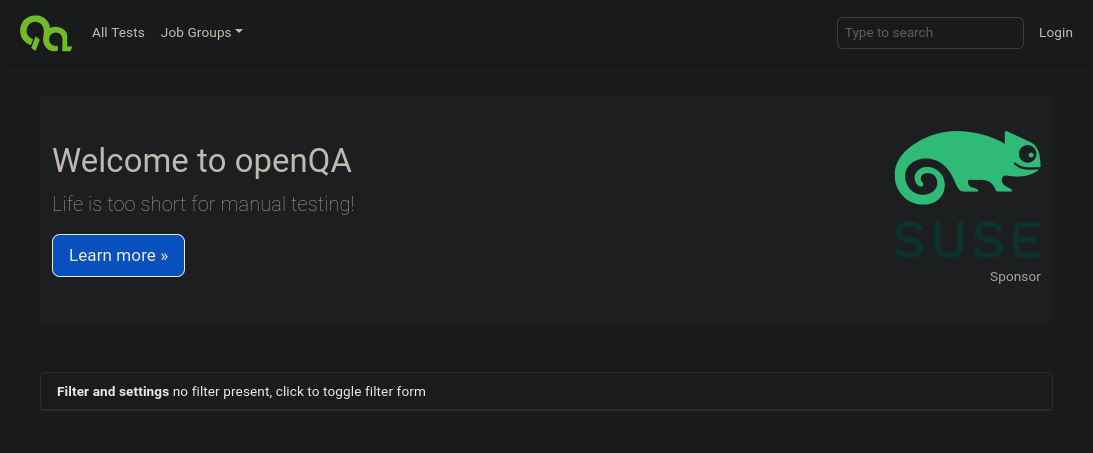
Accessing openQA WebUI
Minikube provides a convenient way to list services and their exposed NodePorts:
$ minikube service openqa-webui --url
http://192.168.49.2:30765
http://192.168.49.2:30134
http://192.168.49.2:30333
http://192.168.49.2:31258
The openQA WebUI is running on port 30765, which is now accessible directly from your browser.